The Windows Firewall, also known as Microsoft Defender Firewall, is a critical component of your computer’s security system. It helps protect your device from unauthorized access and potential threats from the internet. However, there may be instances where you need to temporarily disable the firewall, such as troubleshooting network issues or configuring specific applications. This guide provides detailed instructions on how to turn off the firewall in Windows 10 and 11.
Why Disable the Firewall?
Disabling the firewall can expose your computer to various security risks, including unauthorized access and malware attacks. Therefore, it is advisable to turn off the firewall only when necessary and to re-enable it as soon as possible. If you need to allow a specific application through the firewall, consider creating an exception instead of disabling the entire firewall.
Method 1: Turn Off Firewall Using Windows Security (Recommended)
For Windows 10 and 11
- Open Windows Security:
- Click on the Start menu and type Windows Security in the search bar.
- Select Windows Security from the search results.
- Navigate to Firewall & Network Protection:
- In the Windows Security window, click on Firewall & network protection.
- Select Your Network Profile:
- You will see three network profiles: Domain network, Private network, and Public network.
- Click on the active network profile (it will be labeled as “Active”).
- Turn Off Microsoft Defender Firewall:
- Under the Microsoft Defender Firewall section, toggle the switch to Off.
- If prompted by User Account Control, click Yes to confirm.
Repeat these steps for each network profile if you wish to disable the firewall for all networks.
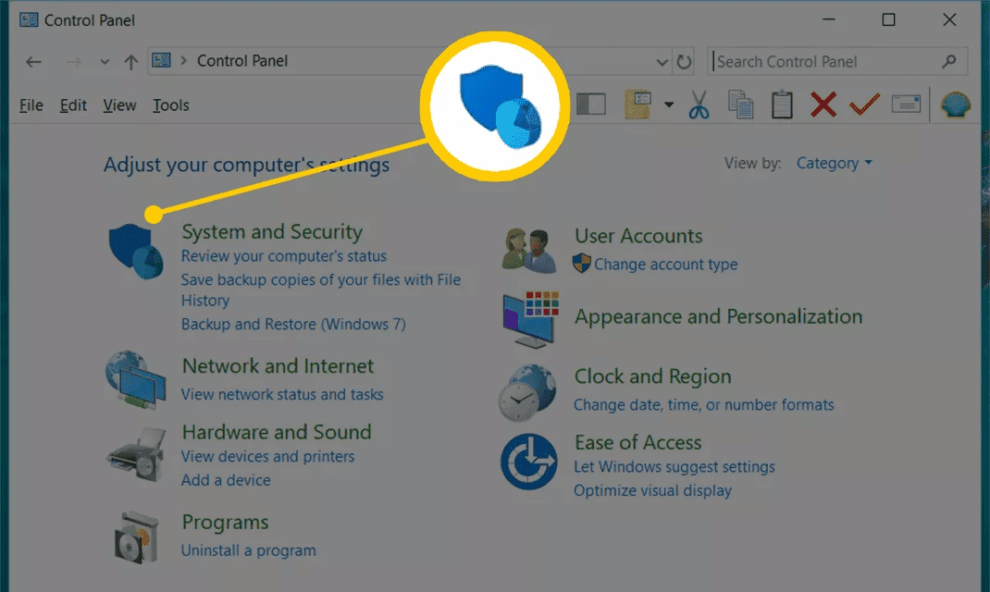
Method 2: Turn Off Firewall Using Control Panel
For Windows 10
- Open Control Panel:
- Press Windows + R to open the Run dialog box.
- Type Control Panel and press Enter.
- Navigate to Windows Defender Firewall:
- In the Control Panel, click on System and Security.
- Click on Windows Defender Firewall.
- Turn Windows Defender Firewall On or Off:
- In the left pane, click on Turn Windows Defender Firewall on or off.
- Disable the Firewall:
- Under both the Private network settings and Public network settings sections, select Turn off Windows Defender Firewall (not recommended).
- Click OK to save the changes.
Note: Disabling the firewall can leave your computer vulnerable to unauthorized access. Ensure you have alternative security measures in place.
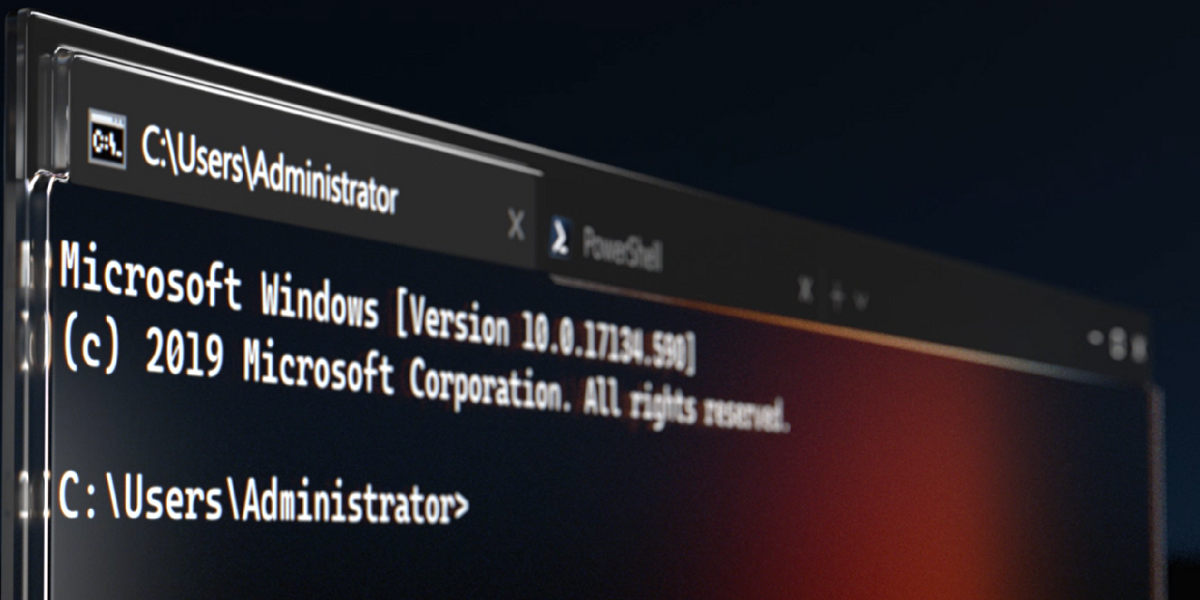
Method 3: Turn Off Firewall Using PowerShell
For Windows 10 and 11
- Open PowerShell as Administrator:
- Press Windows + X and select Windows PowerShell (Admin).
- If prompted by User Account Control, click Yes.
- Disable the Firewall:
- In the PowerShell window, type the following command and press Enter:
powershell
CopyEdit
Set-NetFirewallProfile -Profile Domain,Public,Private -Enabled False
This command disables the firewall for all network profiles. To re-enable the firewall, use the following command:
powershell
CopyEdit
Set-NetFirewallProfile -Profile Domain,Public,Private -Enabled True
Using PowerShell provides a quick and efficient way to manage firewall settings, especially for advanced users and system administrators.
Method 4: Turn Off Firewall Using Group Policy Editor (Windows Pro and Enterprise)
For Windows 10 and 11 Pro/Enterprise Editions
- Open Group Policy Editor:
- Press Windows + R to open the Run dialog box.
- Type gpedit.msc and press Enter.
- Navigate to Firewall Settings:
- In the Group Policy Editor, go to:
nginx
CopyEdit
Computer Configuration > Administrative Templates > Network > Network Connections > Windows Defender Firewall > Standard Profile
- Disable the Firewall:
- In the right pane, double-click on Windows Defender Firewall: Protect all network connections.
- Select Disabled and click Apply, then OK.
To re-enable the firewall, repeat these steps and select Enabled instead of Disabled.
Method 5: Turn Off Firewall Using Command Prompt
For Windows 10 and 11
- Open Command Prompt as Administrator:
- Press Windows + X and select Command Prompt (Admin).
- If prompted by User Account Control, click Yes.
- Disable the Firewall:
- In the Command Prompt window, type the following command and press Enter:
cmd
CopyEdit
netsh advfirewall set allprofiles state off
This command disables the firewall for all network profiles. To re-enable the firewall, use the following command: