One big advantage of mobile devices is that most of them have a screen capture option. So today, in this brief tutorial I am going to explain you how to take a screen shot on iPad tablet and share it with others via email it to your computer.
How to take a screen shot on iPad?
- Firstly, make sure your iPad is on and is in the upright position.
- Then, look for the Power button on the top right corner of your iPad
- Next, Press and hold the power button and the “Home” button simultaneously for a quick second. (Note: You will find the Home button at the bottom of your iPad screen)

- Instantly you will notice an on-screen flash. If you have volume enabled, you will hear a camera shutter noise.
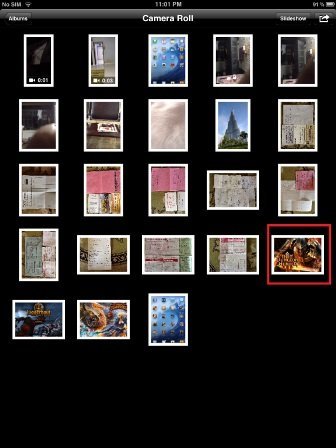
- Now the screen-shot has been captured and saved to your Photos app.
- To access the recently captured screen-shot you will have to click open the Photos app. The Photos app icon can be seen as an image of a sunflower on your iPad screen.

- Tap the thumbnail to enlarge the image.

If you would like to share images from your iPad to your computer (Windows or Mac) we have discovered one of the easiest ways for you – email images to yourself.
How to share images from your iPad via Email?
- Look for the arrow button on the upper right of the screen while you are viewing the screenshot.
- Once found, tap on it. Instantly, a menu will appear with the options: Email Photo, Use as Wallpaper, Copy Photo.
- From the above options, select ‘Email Photo’.

- Your mail will open automatically with the screenshot attached to a message. Simply enter the email address of the person with whom you want to share the pictures.
- Then, enter any other information that you feel may be necessary and then tap ‘Send’.

- For testing purposes I had sent the screen-shot to my email Id. When I checked my email inbox I found I had received the image as a file.

This is how you can take a screen-shot on your iPad and share it easily with others via email.


